Guys! I made my weighted blanket! Isn’t she gorgeous?

A weighted blanket is exactly what it sounds like. It’s a blanket sewn into a grid and in each square of the grid is some kind of weight, usually plastic pellets(natural stuff like corn and rice works, but can rot and isn’t washable). You snuggle up under it just like a regular blanket, but because it’s weighted, it feels like a big hug.
I can’t remember how I first heard about these, but I couldn’t get the idea out of my head. Since I’m not in therapy anymore, I’m always on the lookout for new things to try so that I can fine-tune my own management as much as possible. I wanted one because weighted blankets help relax the nervous system, which in turn eases anxiety. They also help with insomnia. And they help ease transitions for folks who are highly sensory, particularly people on the autism spectrum. I’m a Highly Sensitive Person, so this is great for me. Sometimes, if I’ve had a long day but I have plans, I just need a few minutes of comfort before I’m ready to go be social.
Once I decided I wanted one, I went shopping. And basically stopped about 10 minutes later. I couldn’t find one heavy enough for me(more on that later) on Amazon or Etsy for less than $100, and the fabric on each of them was just the worst. Since my awesome sister and brother-in-law got me a sewing machine a few years ago, I was like, F this, I’m making my own. I looked at a few diys, and ultimately decided on this one, though they’re basically all the same. Then I went shopping again, but this time it was for fabric and poly pellets. I like to get my fabric from superbuzzy in Ventura, California. I know this is like heaps far from NYC and why don’t I just go to the garment district, but I like superbuzzy because they carry a lot of unique fabrics that you can’t get anywhere else. I also wanted something with a subtle pattern that was relatively lightweight but still good quality, and that can be hard to find. How the fabric feels is important, since a weighted blanket is all about touch.
You should know ahead of time that this takes about 4-5 hours. You obviously don’t have to do it all at once, but it’s a little easier to do that as you don’t have to hassle with putting materials away and getting them out again.
Here’s the step by step:
- Figure out how big you want your blanket to be. I wanted mine to be the size of a throw blanket, which is about 46″ by 72″. I ordered about a foot extra just in case I ripped it or something (it’s not unheard of for me to make some ridiculous mistake).
- Order your poly pellets. This requires math – and here I told my algebra teacher Mrs. Squires that I would never use math in real life. You should use 1lb of poly pellets per 10 lbs of weight, plus an extra lb. So if you weigh 140 lbs, your blanket should be 15 lbs. I got my pellets on Amazon. Plenty of brands sell them in all different increments, so you should be able to get what you need without too much extra.
- Assemble your materials. You’ll need: fabric, polly pellets, a kitchen scale, a piece of paper to make into a funnel, a bowl, a scoop (I used a measuring cup), a tape measurer, fabric chalk, thread, sewing machine, and pins. You’re also going to want a big space to work at first, as you’ll need to pin a lot for the first set of stitches.
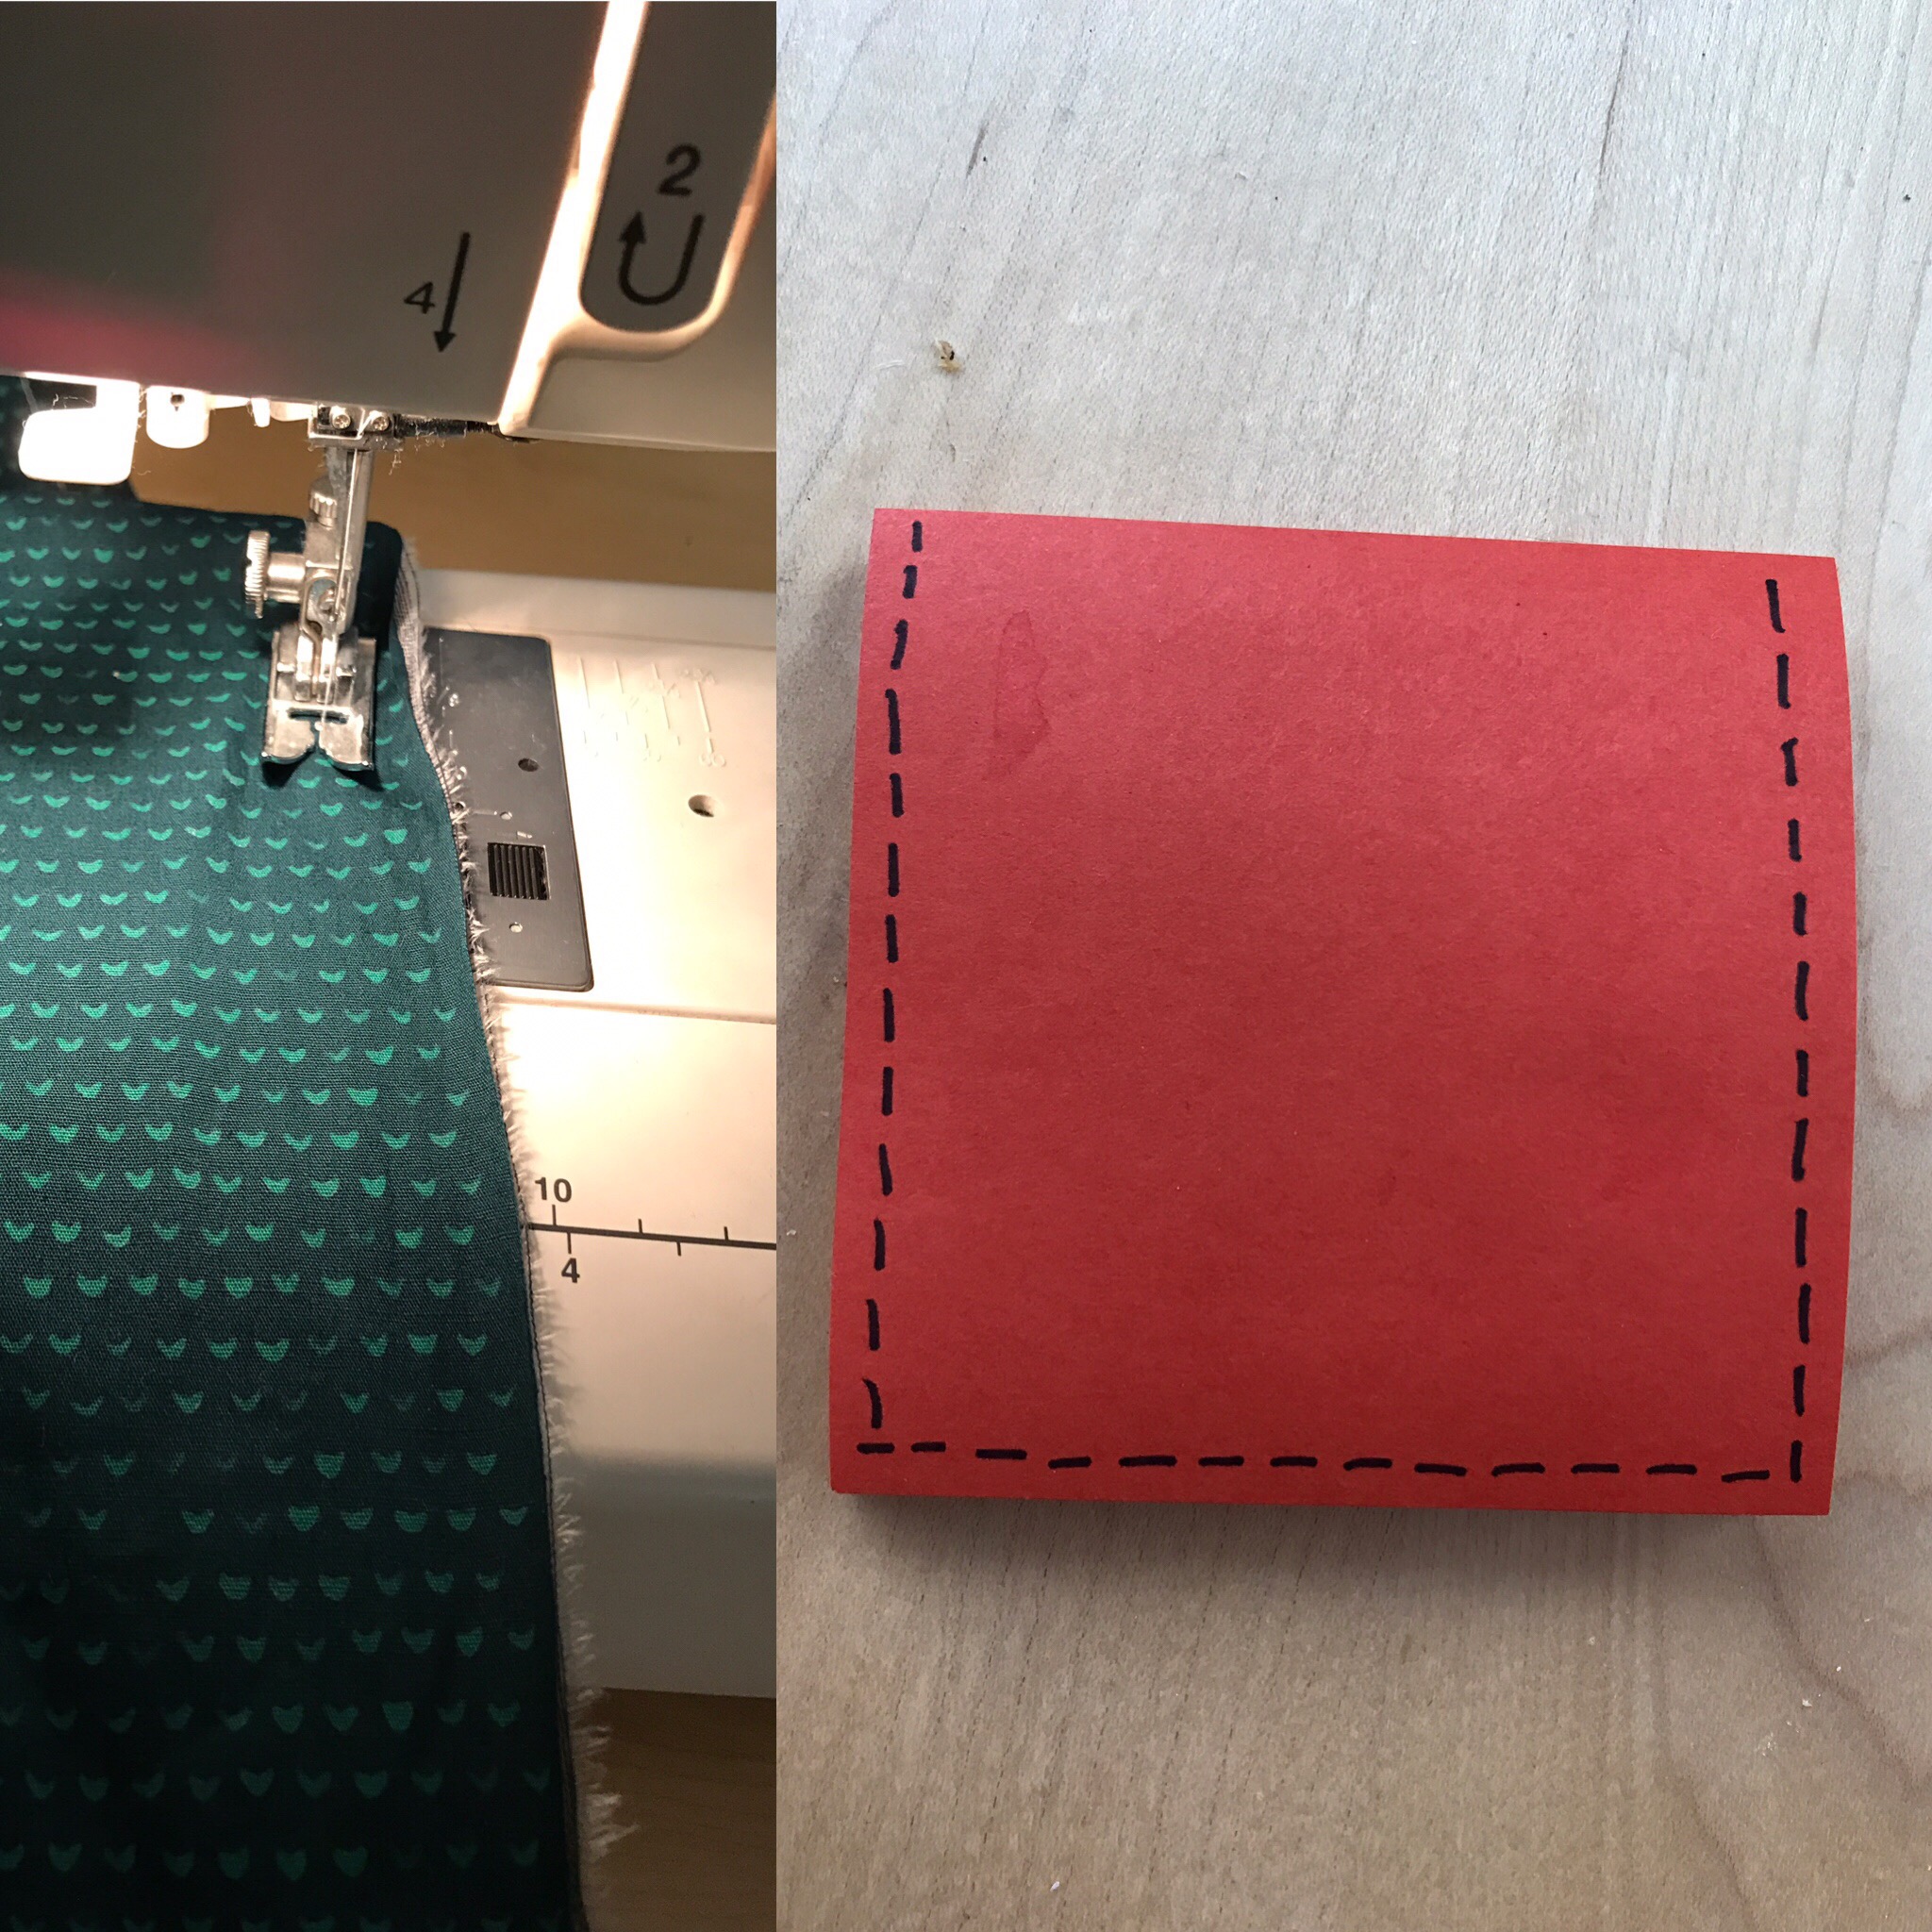
- Sew your borders. Cut your two pieces of fabric with about 2 extra inches. Place that fabric RIGHT SIDES TOGETHER, pin the shit out of them, then sew up 3 edges. I used a 1/2″ seam, but you can do anything up to 1″. I kept a short edge open to make sewing the pellet pockets closed easier to manage. I also had a different color of thread on my bobbin than on the spindle of my machine, because my fabrics are two pretty different shades. This way the thread would blend in to the fabric better.

- Turn your fabric right side out.
- Figure out the size of your grid. More math! I wanted the sections on my blanket to be square, because I’m particular that way. If that doesn’t matter to you, just keep in mind that the smaller your sections are, the longer it will take because you’ll have to measure and sew more. My sections were 6″x 6″, but in retrospect, I wish I’d made them 3″x 3″ or 4″x 4″ so that the pellets had less room to move around and the weight were more evenly distributed, as it tends to puddle at my sides. Maybe if I get really bored this summer I’ll rip the stitches out and redo it.

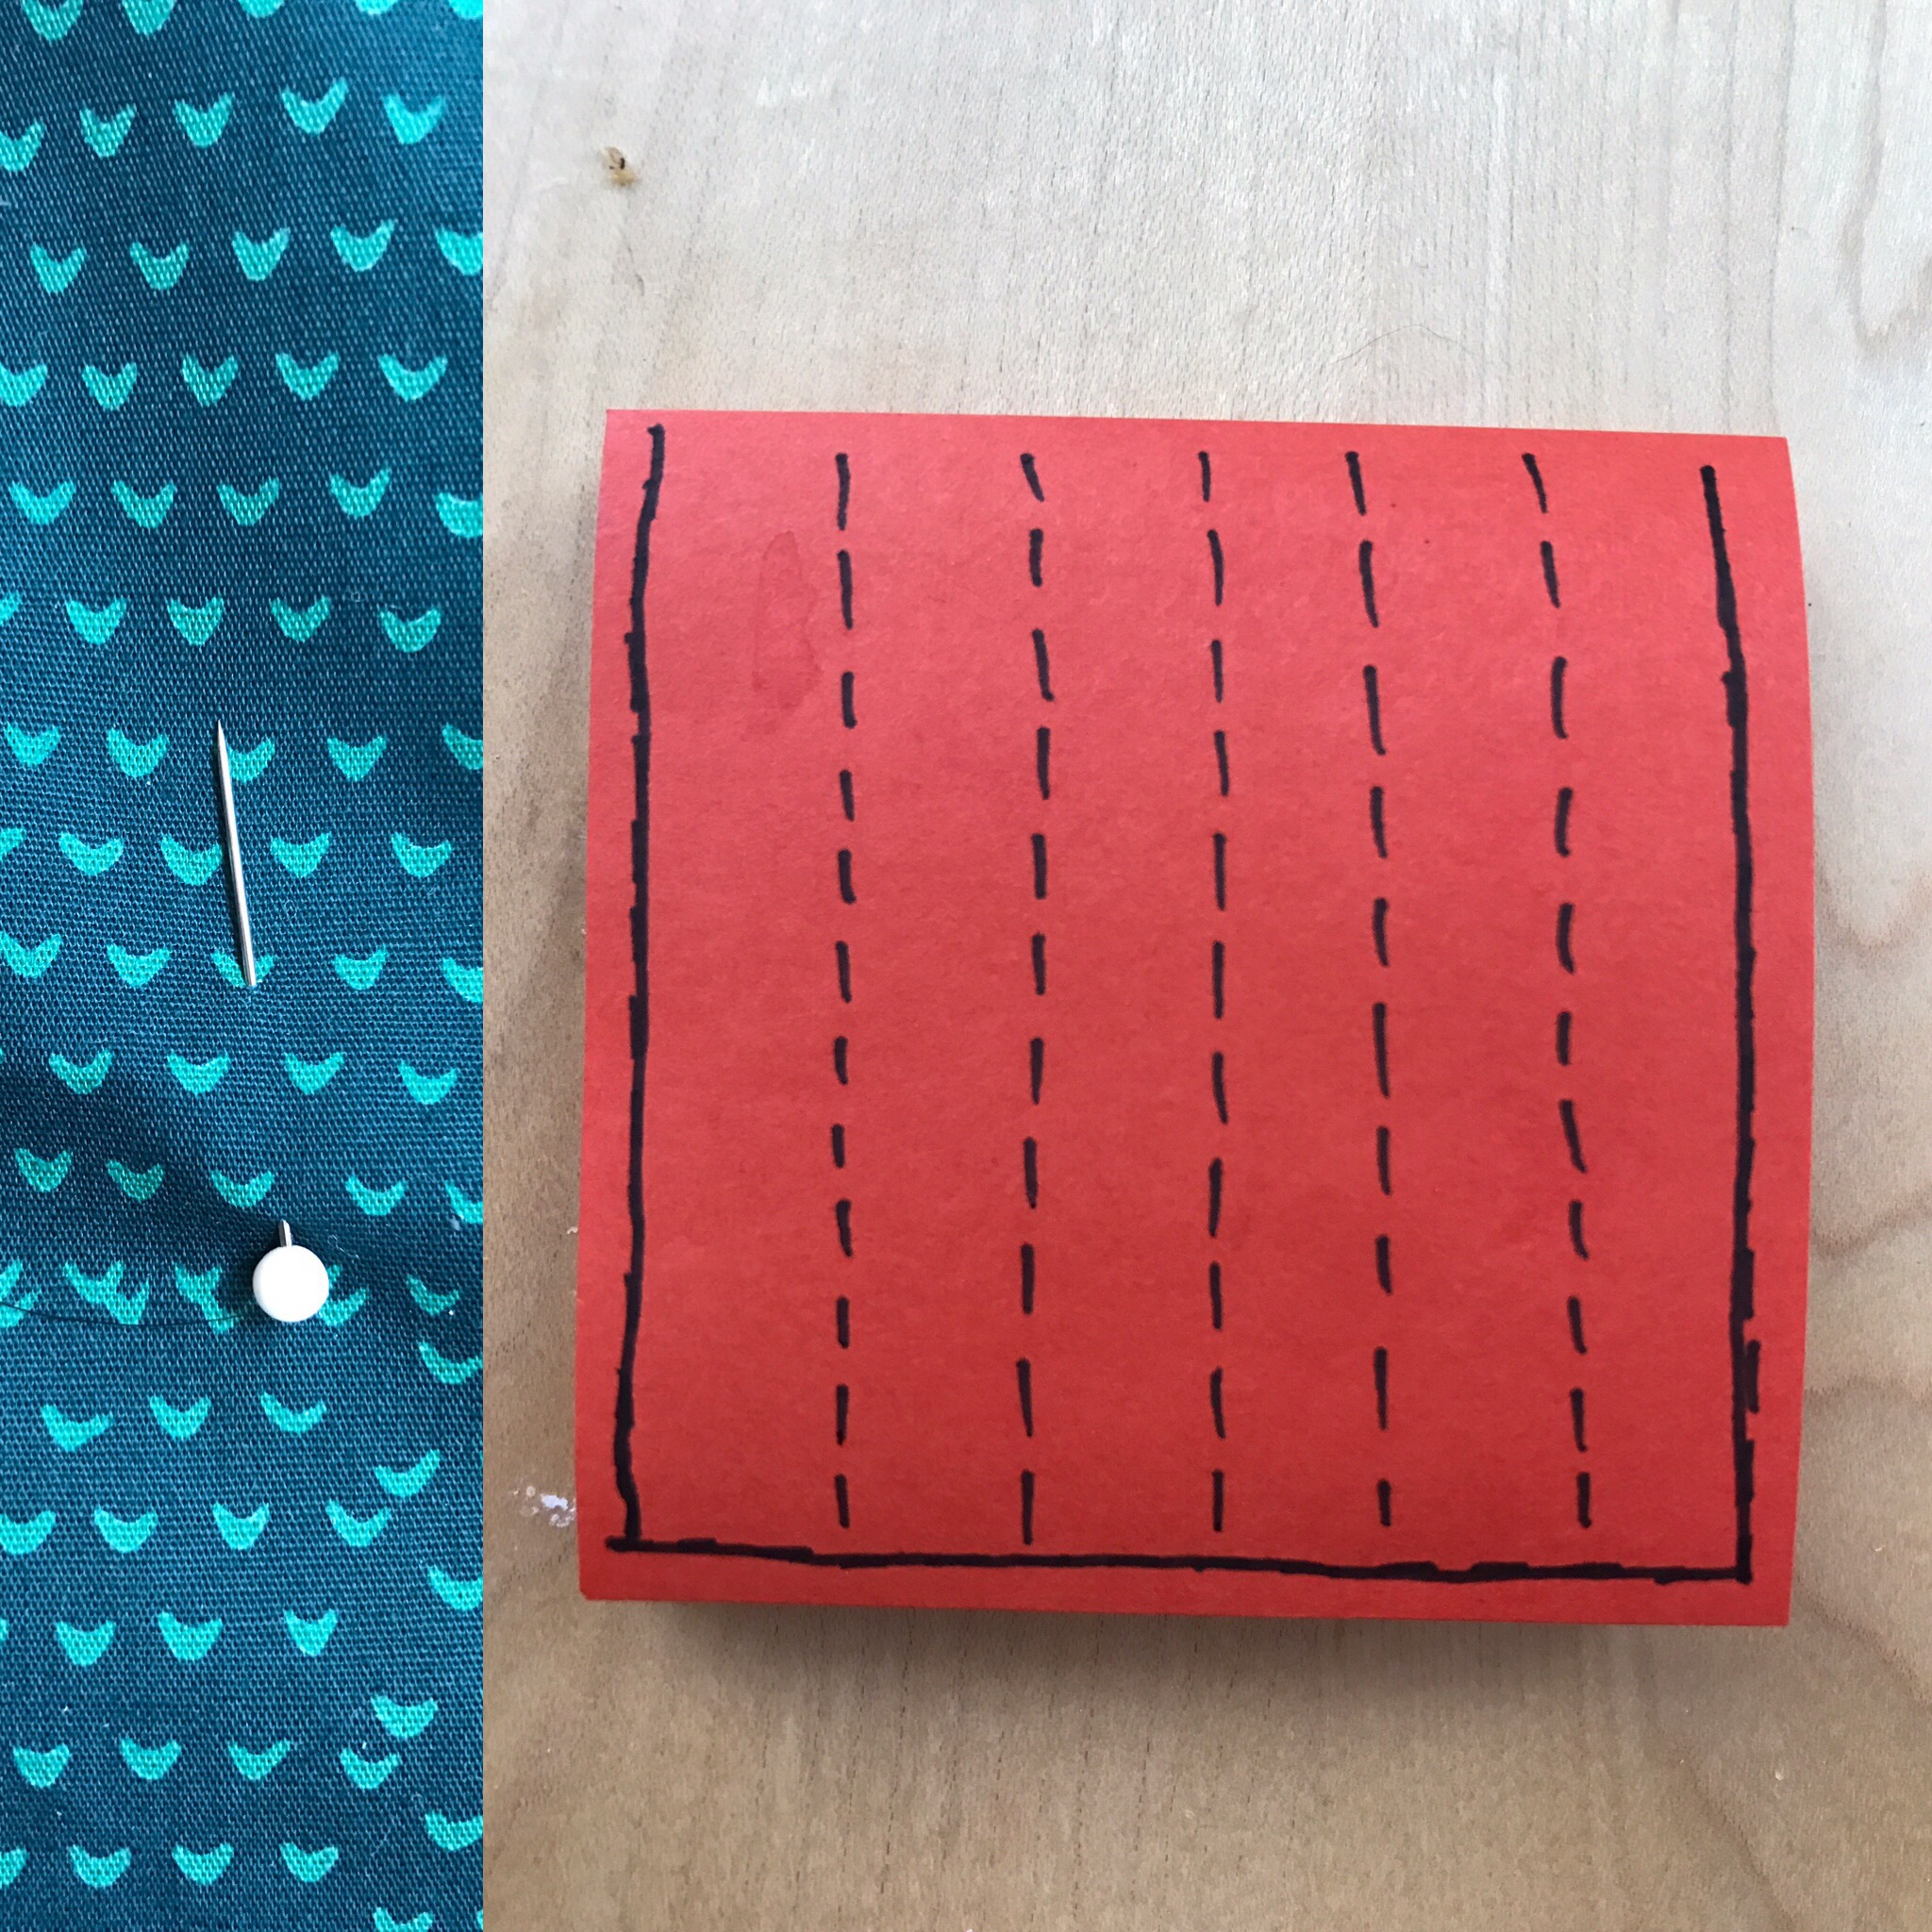
- Pin/draw and sew your columns. This takes a while. If you chose a “cheater” fabric that has either a grid or lined pattern, this will be a little easier. I didn’t do that, so I had to put a ton of pins in to make sure I was sewing straight. You can also use fabric chalk to mark where you want to sew (this is better than pinning). Once you’ve pinned them, sew them up, all the way from top to bottom. You should have one end of the columns sewn shut from the seam you added before, and one end open. This is where you’ll put your pellets.

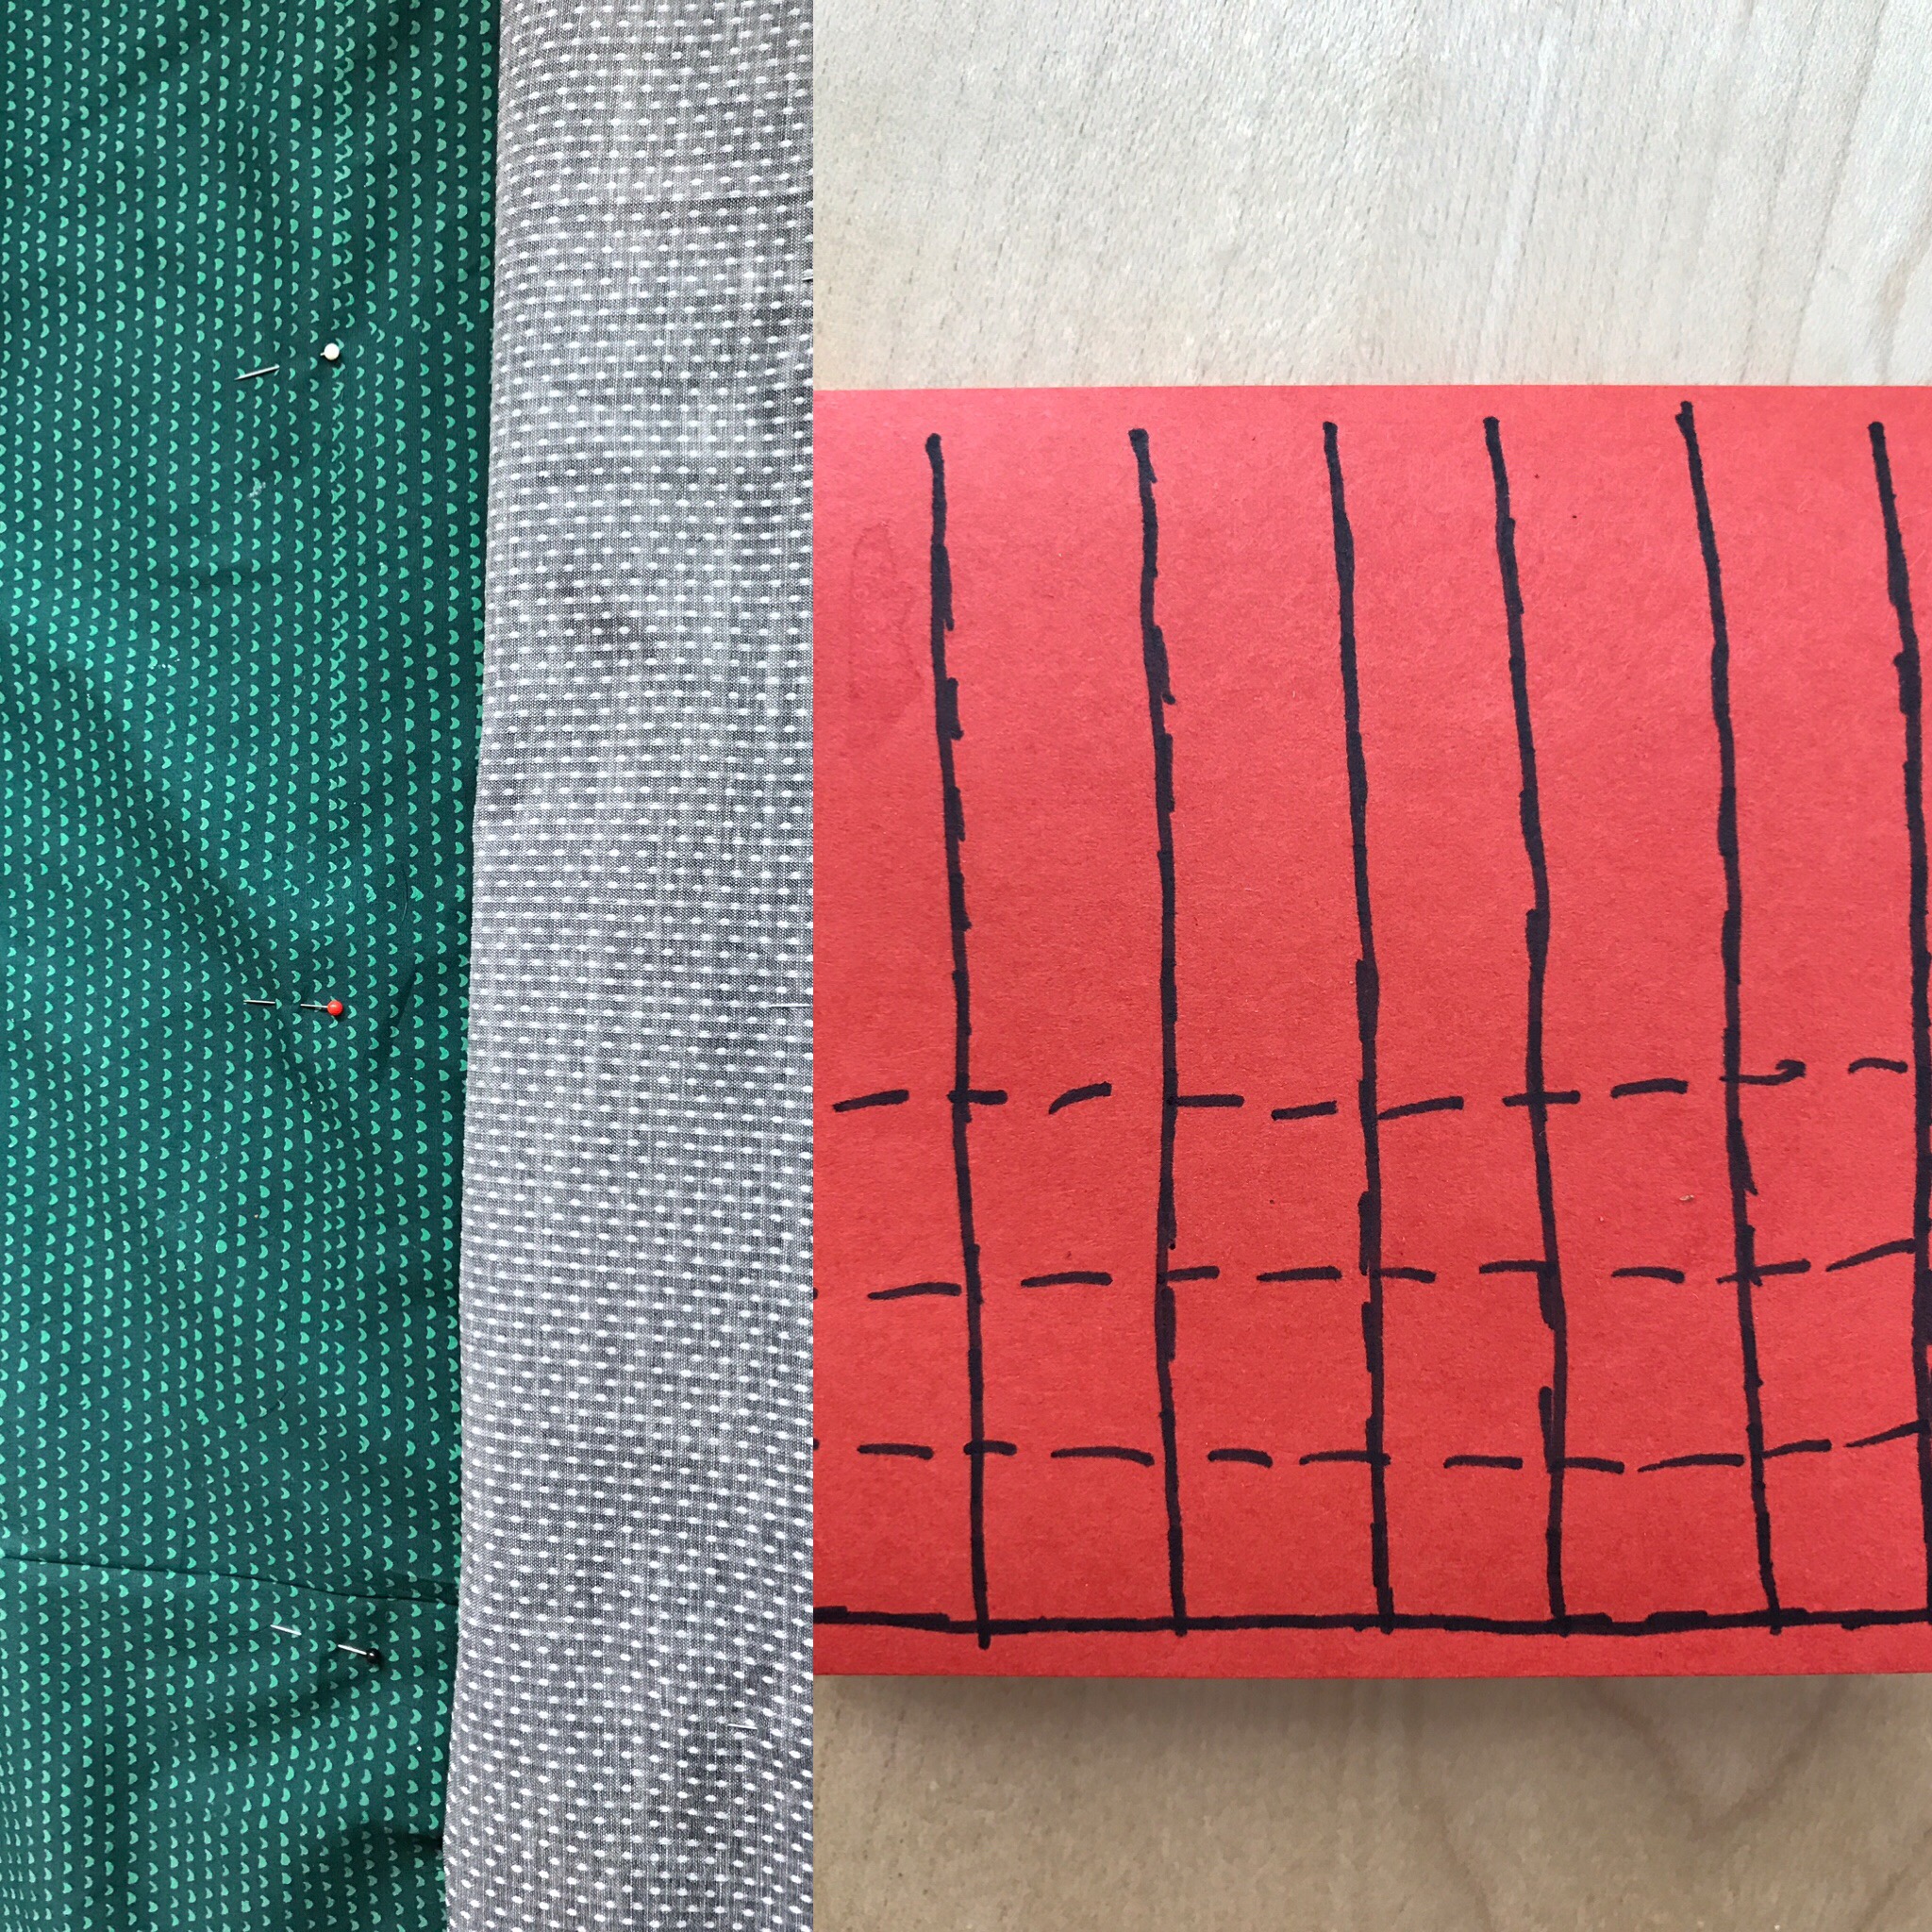
- Mark BUT DON’T SEW your rows(where you’ll sew horizontally). Honestly, use chalk for this. I used pins, and it sucked. I had to be super careful as I was sewing and I was always worried about getting pricked or the pins falling out.

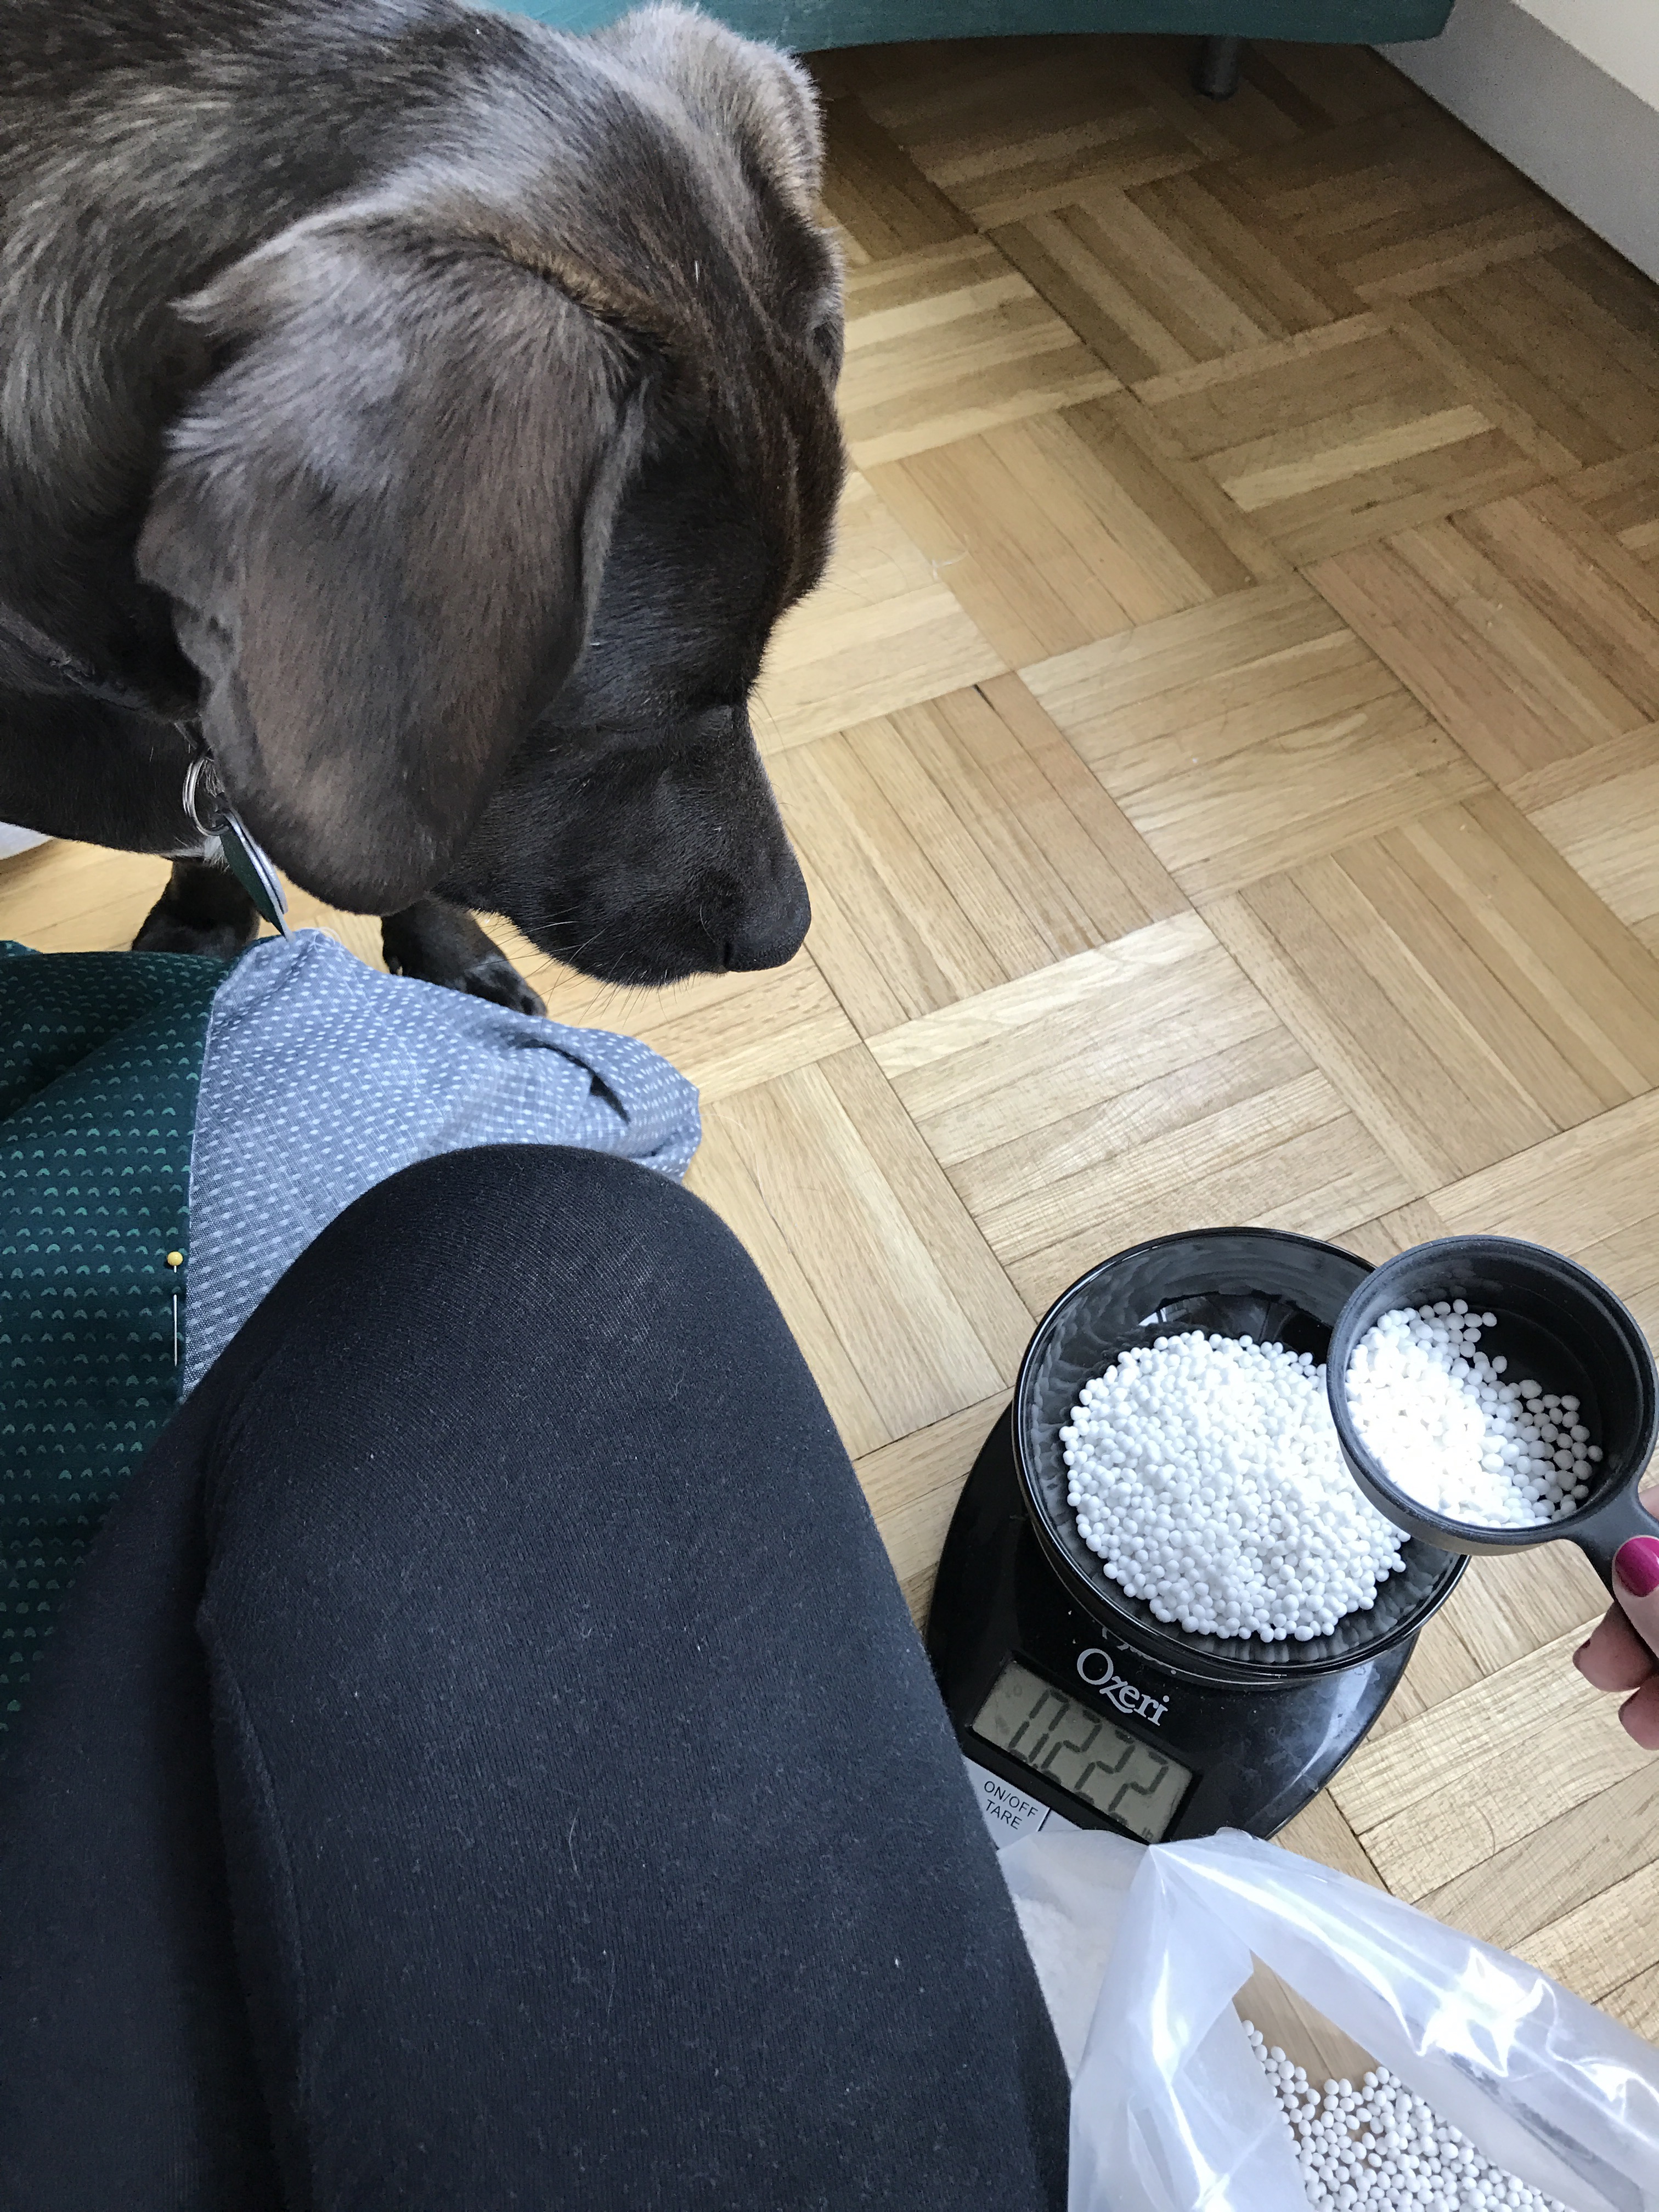
- Figure out how much weight goes in each square. MORE MATH!!!! Take the total amount of weight you’re using and divide it by how many squares you’ll have in your grid (aka the area, or number of squares across multiplied by number of squares down). I had 12 lbs. and 54 squares, so to get the weight per square I took 12 divided by 54, to get 0.22 lbs per square. Again, in retrospect, I should have made my blanket 14 lbs according to that ratio. Also again, I may redo it this summer and add weight.
- Measure and add your weight. I used our handy kitchen scale, setting it so that it read 0 when the bowl I was using was sitting on it (usually this is the Tare button). MAKE SURE YOUR SCALE IS SET TO THE UNIT OF MEASUREMENT YOU NEED. Then I put pellets in the bowl until I reached the desired weight. Next, wrap your paper into a funnel and tape it in that shape. Insert the small end into the first column, working left to right. Pour the measured pellets in. Measure and pour until you have filled all columns in that row.


- Hold at the top, stand up, and shake vigorously to ensure that all pellets are at the bottom of the column. Especially if you pinned where you want to sew instead of using chalk. Trust me. The pellets WILL get stuck and you WILL find them as you accidentally almost sew over them and almost break your needle.
- Repeat steps 9 and 10 until you have sewn your rows up to the top/used all of your weight. Be careful as you sew – the added weight will pull your blanket and very easily make your stitching tilted. Go slowly and carefully.
- Sew the top row shut. It’s ok if the edges are messy. We’re going to make a nice seam in a second.
- Make a nice top seam by folding the rough edges underneath some of the fabric. I rolled mine a couple of times, then sewed the edge of the roll that rested on the blanket.

- Lay it out and trim remaining threads.
- Enjoy! Honestly, I was super tired when I finished mine. I climbed right into bed with it and nearly fell asleep.


Some tips:
- Whenever you start to sew, hold on to the two threads until you’ve stitched a few times. Then backstitch(hold the reverse button and sew) over where you just sewed. Then go forward, At the end of your row of stitches, backstitch again. This is so that you don’t have to knot everything every time. Because that is fucking annoying.
- Work on a large table or the floor. I didn’t and managing all of the fabric, especially as I added weight, sucked.
- Be patient. This is a long process.
- Be proud! You made something awesome.
Using the blanket
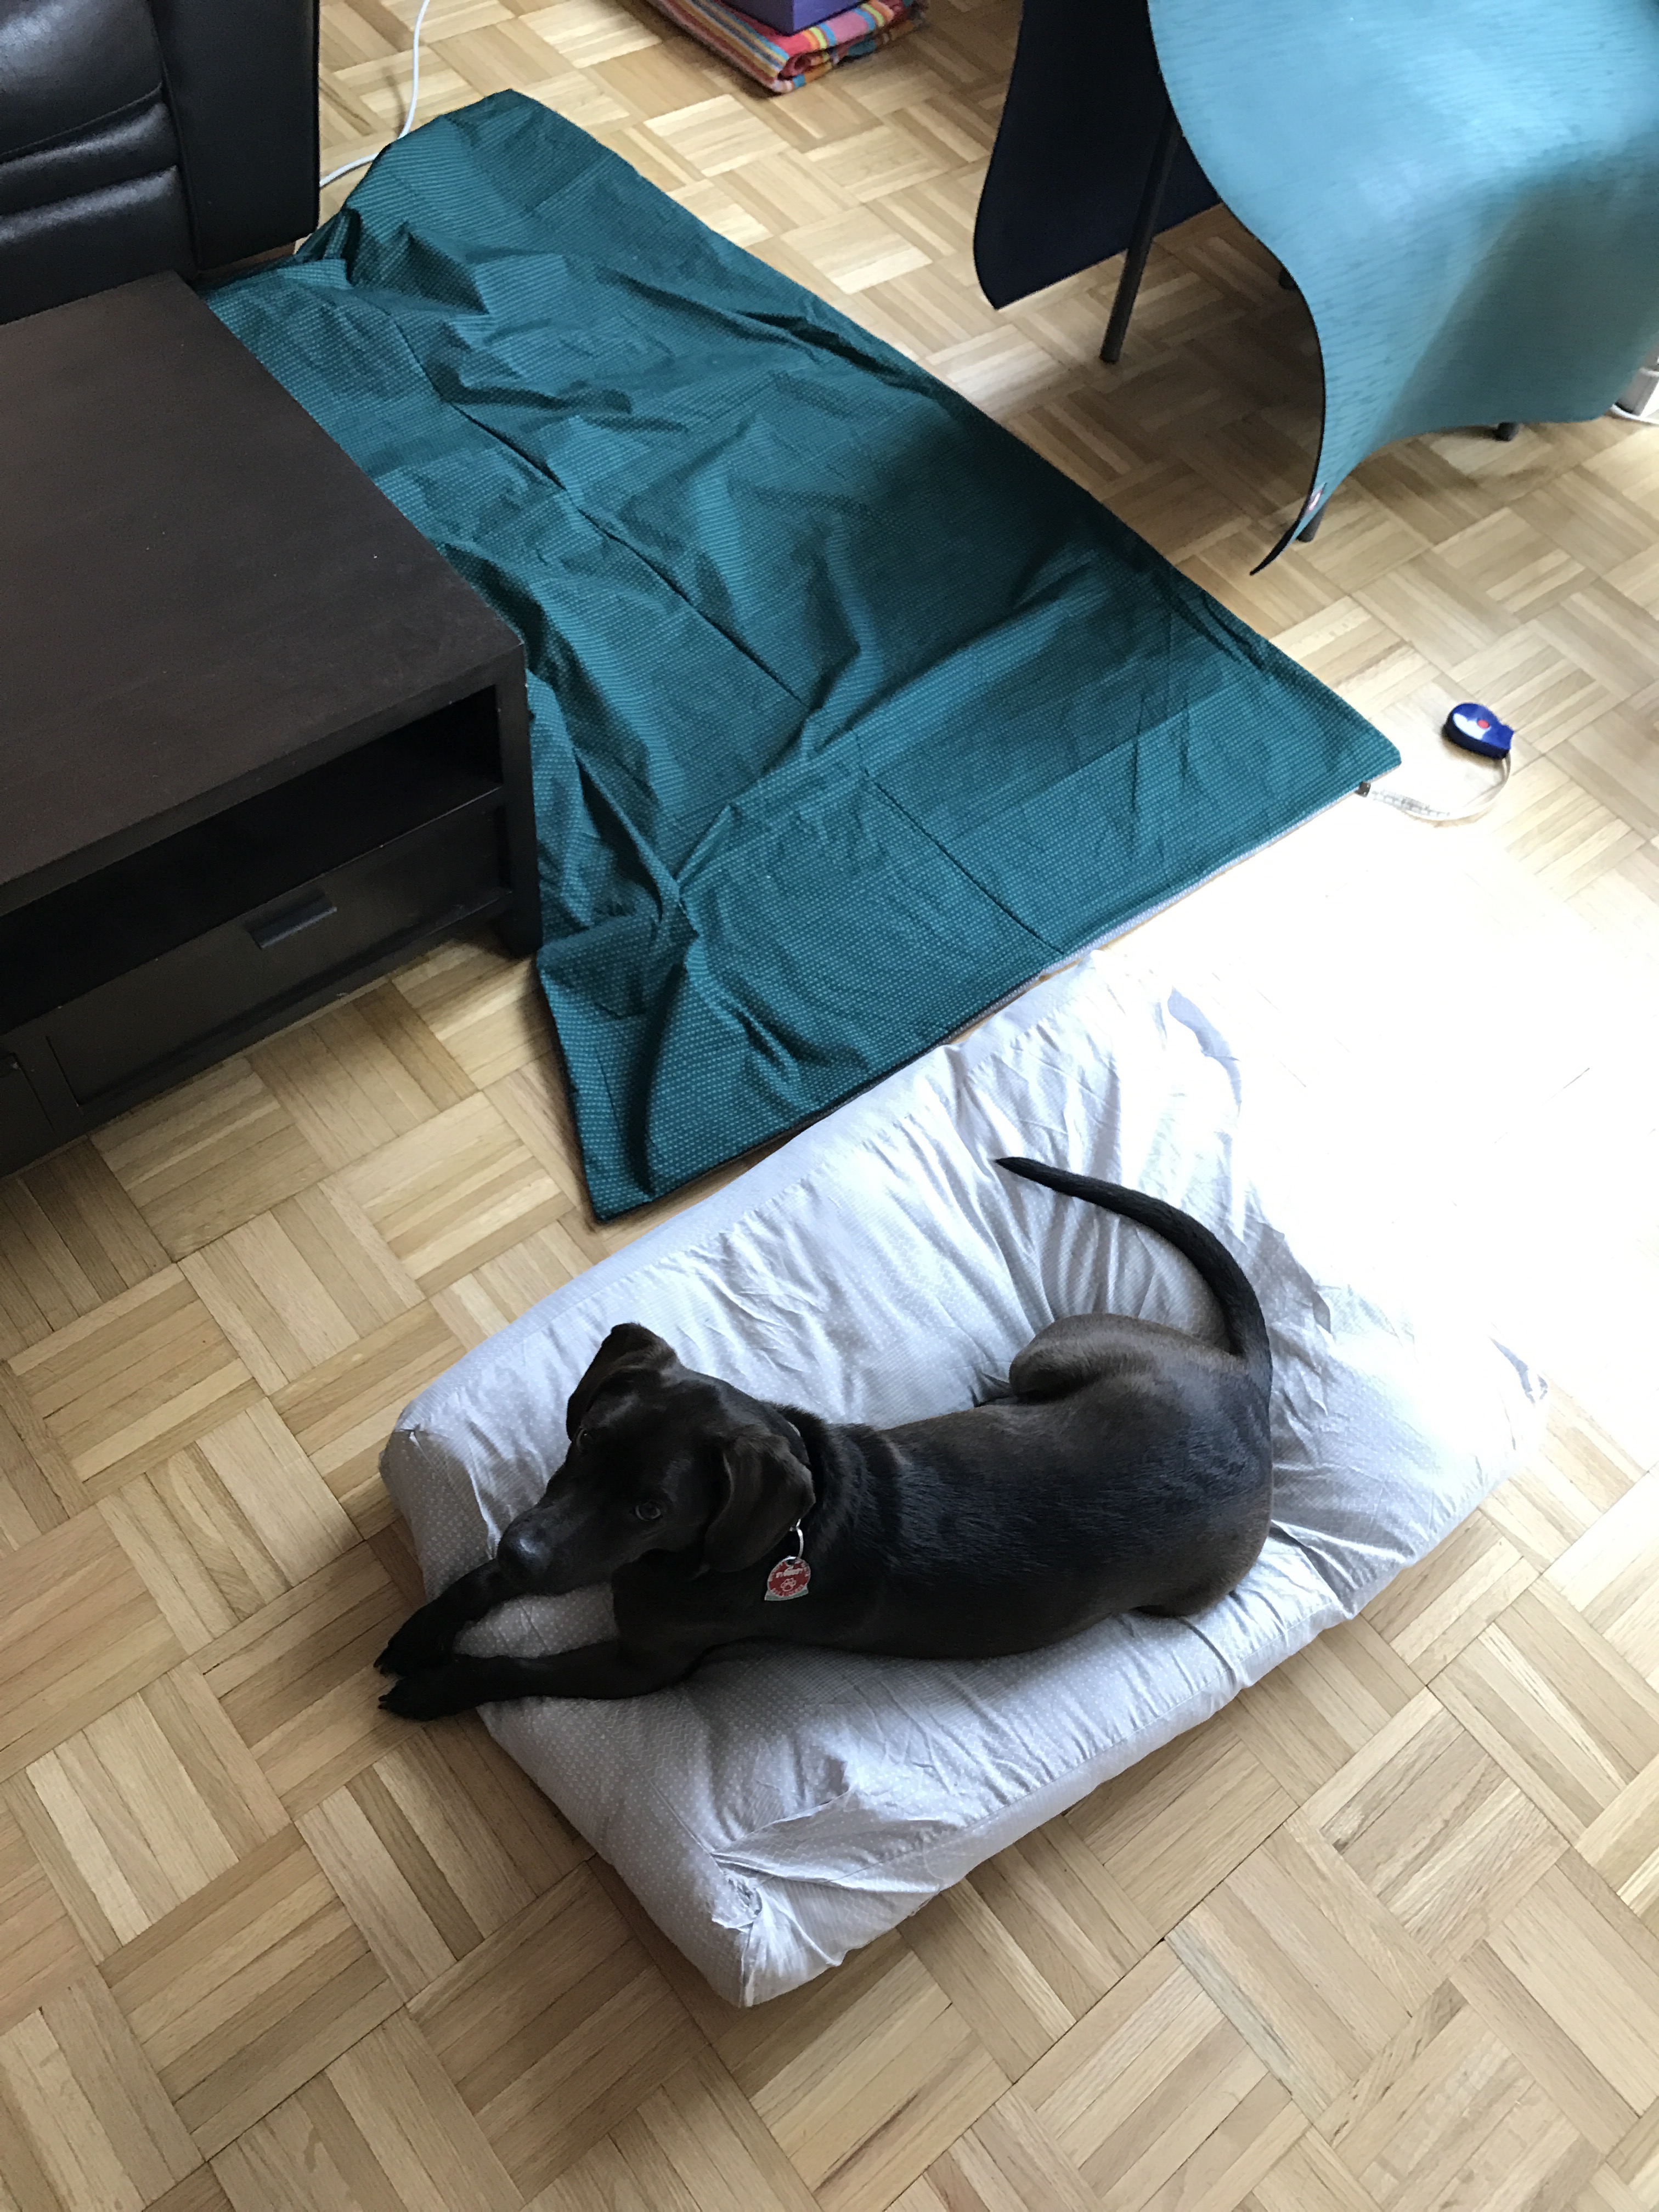
I’ve used my blanket three times. The first time was right after I made it, and it was pretty great. The dog and I snuggled up and I was super relaxed. I loved it.
The second time I used it was a few weeks ago. The dude was at volleyball and I was feeling a little anxious, as I do sometimes when he’s not home at my bed time. I spent about an hour cycling between dozing and being awake, so I got up and I got my blanket. It felt nice, and it helped me fall asleep faster when I woke up, but I kept waking up. Partly because I was anxious, but also partly because that thing is heavy when you’re tossing and turning all night. I finally got a solid few hours of sleep, and when my alarm went off, crawling out from under it in my groggy state was interesting.
The third time I used it was a few days ago, again when the dude was at volleyball. I actually fell asleep quite easily, but woke up around midnight and found that I was waking myself up every time I fell asleep, because my brain was like  I got my blanket, and fell asleep more quickly that I expected. I tossed and turned a bit, but pretty soon I just conked out and then the next thing I knew, my alarm was ringing.
What I really want (weirdly) is to have a fragile day, because even though those suck, that’s primarily what I wanted the blanket for. The whole reason I was interested in them in the first place is that on fragile days I want that physical contact but (again, weirdly) don’t always want the dude to touch me. The blanket is a way to solve that, and also to allow me to have as much physical contact as I want without the dude having to sacrifice his work time or plans. I promise to update you when this inevitably happens.
If you don’t want to go through the hassle of making your own blanket or can’t, try Gravity Blankets.

Pingback: Hello – it's only fear
Pingback: Weighted Blankets, pt. 2 | it's only fear
Pingback: The Threat of Trouble - World Top Business Systems With Premium Bonuses